
Astrophotography 101 - Flat frames and why you should take them
- The Backyard Cosmos

- May 14, 2019
- 3 min read
This article is aimed at beginner DSLR users but should apply to other setups.
What are flat frames?
Flat frames are the most important calibration frames you can take for your astro images, they are used to remove some of the imperfections in your optics such as vignetting and dust and can save you a lot of time and effort in your post processing workflow.
What flats do:
-Correct vignetting (darkening around the edges of your image that can cut off your target).
-Correct for dust splotches (dust can leave dark "holes" in your image) .
-Flatten your image (evens out the background brightness of you image).
What they don't do:
-Fix coma, distortion or other optical aberrations.
-Correct light pollution gradients.
Flats are generally reserved for stacked images since single images such as landscape shots can usually be dealt with by using lens corrections in programs such as Adobe Lightroom.


Above images had the exact same stretch applied to them, nothing else.
How do I take flats?
There are many methods to taking flats (I will mainly be discussing the "White T-shirt Method") but they all have the same basic requirements.
You will need:
-A very evenly lit white light source free of brightness or color gradients, this can be a good display, an evenly lit wall, or the early morning sky.
-A way to diffuse the light source coming into your optics (the t-shirt).
-The exact same settings you used for your light frames (the actual images you took of your target) except exposure length.
For the White T-shirt Method:
Start by setting your camera up exactly the way it was when you were taking your lights except instead of using manual mode set your camera to AV mode (aperture priority), this will allow your camera to determine the shutter speed to use in order to achieve a properly exposed image. Other than making sure your general camera settings (ISO, aperture etc.) are the same, you will also need to insure your lens is at the same focal length and the same focus point as your light images are, this ensures all your optics are in the same position as they were for your lights.

Remove your lens hood if you use one and cover your lens with a white shirt, cloth, or towel free of any patterns or stains to diffuse the incoming light. You can use a rubber band to ensure a snug, wrinkle free fit.
To ensure my focus is the same as it was at night I have a mark on my lens that I made after focusing on a star, you can also just focus on a very distant object before covering your lens with comparable results.

For my light source I use a laptop (or phone if it covers the objective) display with a solid, flat, white image on it and put the objective of my lens flush with the screen
When you're ready to take your flats you'll want to take about 20 images that you will combine into a master flat in DeepSkyStacker, I like to use Canons continuous timer feature since it can automatically take 10 at a time without you touching the camera. They should look white in camera and will likely be green in DSS, they should show no gradients besides the natural vignetting of your optics and possibly dust on your sensor. It's also a good idea to review your flats frame by frame to ensure they were all taken at the same shutter speed as AV can vary it if your lighting changes even slightly.

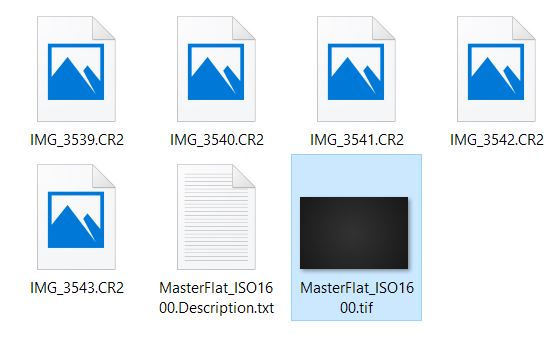
It's a good idea to put your flats in folders labeled with what ISO and lens they were taken with because flats are reusable for lights that used the same settings until dust starts shifting in your optical train.
Once you have them imported, simply drop them all into DSS with your light frames and register them, during the registering process DSS will create a master flat from all your subflats and subtract it from your lights during stacking, effectively removing the vignetting and dust sploches. Once your master flat is created you can use it instead of all your subflats for future stacks.

You can then continue stacking and processing as you normally would with the subflats or master flat included and your final image should come out flat without any of that nasty vignetting!


Comments